Red light therapy (also called photobiomodulation) is an easy‑to‑use, non‑invasive treatment that can boost circulation, accelerate recovery, and relieve pain. In this guide, you’ll discover exactly how to set up your sessions—covering distance, timing, safety, and pro tips.
What exactly does red light therapy do?
Red (600–700 nm) and near‑infrared (700–1100 nm) light penetrate different skin depths to activate mitochondrial enzymes. This means:
- More ATP production for faster cell repair
- Reduced inflammation through cytokine modulation
- Enhanced collagen synthesis for healthier skin and tissues
How should I prepare before my session?
- Clean your skin of lotions, oils, or sweat so light can reach cells directly.
- Protect your eyes—wear goggles if using near‑infrared to avoid retinal exposure.
- Stabilize your device on a flat surface or stand to prevent shifting mid‑session.
What is the optimal distance from the device?
- 10–15 cm for red light (600–700 nm): This proximity yields high irradiance for upper skin layers.
- 20–30 cm for NIR (700–1100 nm): Slightly further ensures even coverage in deeper tissues.
Tip: If your unit combines both wavelengths, position it parallel to the skin to avoid hotspots.
How long should each session last?
- Beginners: Start with 5 minutes per target area to let your skin acclimate.
- Intermediate: Increase to 10–15 minutes once you’re comfortable.
- Advanced: Max 20 minutes only for deep‑tissue work or stubborn tension.
- Frequency: Aim for 2–3 sessions per week to build cumulative effects.
What’s the step‑by‑step protocol for my first session?
- Optional Warm‑Up: Light movement or a warm compress boosts blood flow.
- Power On: Choose combined red + NIR mode if available.
- Measure Distance: Hold your hand at the intended spot and mark the device housing with tape.
- Position Yourself: Sit or lie comfortably, ensuring the panel doesn’t touch your skin.
- Set Timer: Program the recommended duration and press start—stay still.
- Post‑Session Rest: Relax for 5 minutes to let metabolic processes continue.
- Hydrate: Drink water to support cellular repair.
Which common mistakes should I avoid?
- Too far (> 40 cm): Dramatically lowers irradiance, reducing effectiveness.
- Too short (< 5 min): Insufficient energy for meaningful cell stimulation.
- Uneven alignment: Keep the panel parallel to skin to prevent shadows.
- Inconsistent scheduling: Irregular use disrupts the treatment’s cumulative benefit.
What extra tips can boost your results?
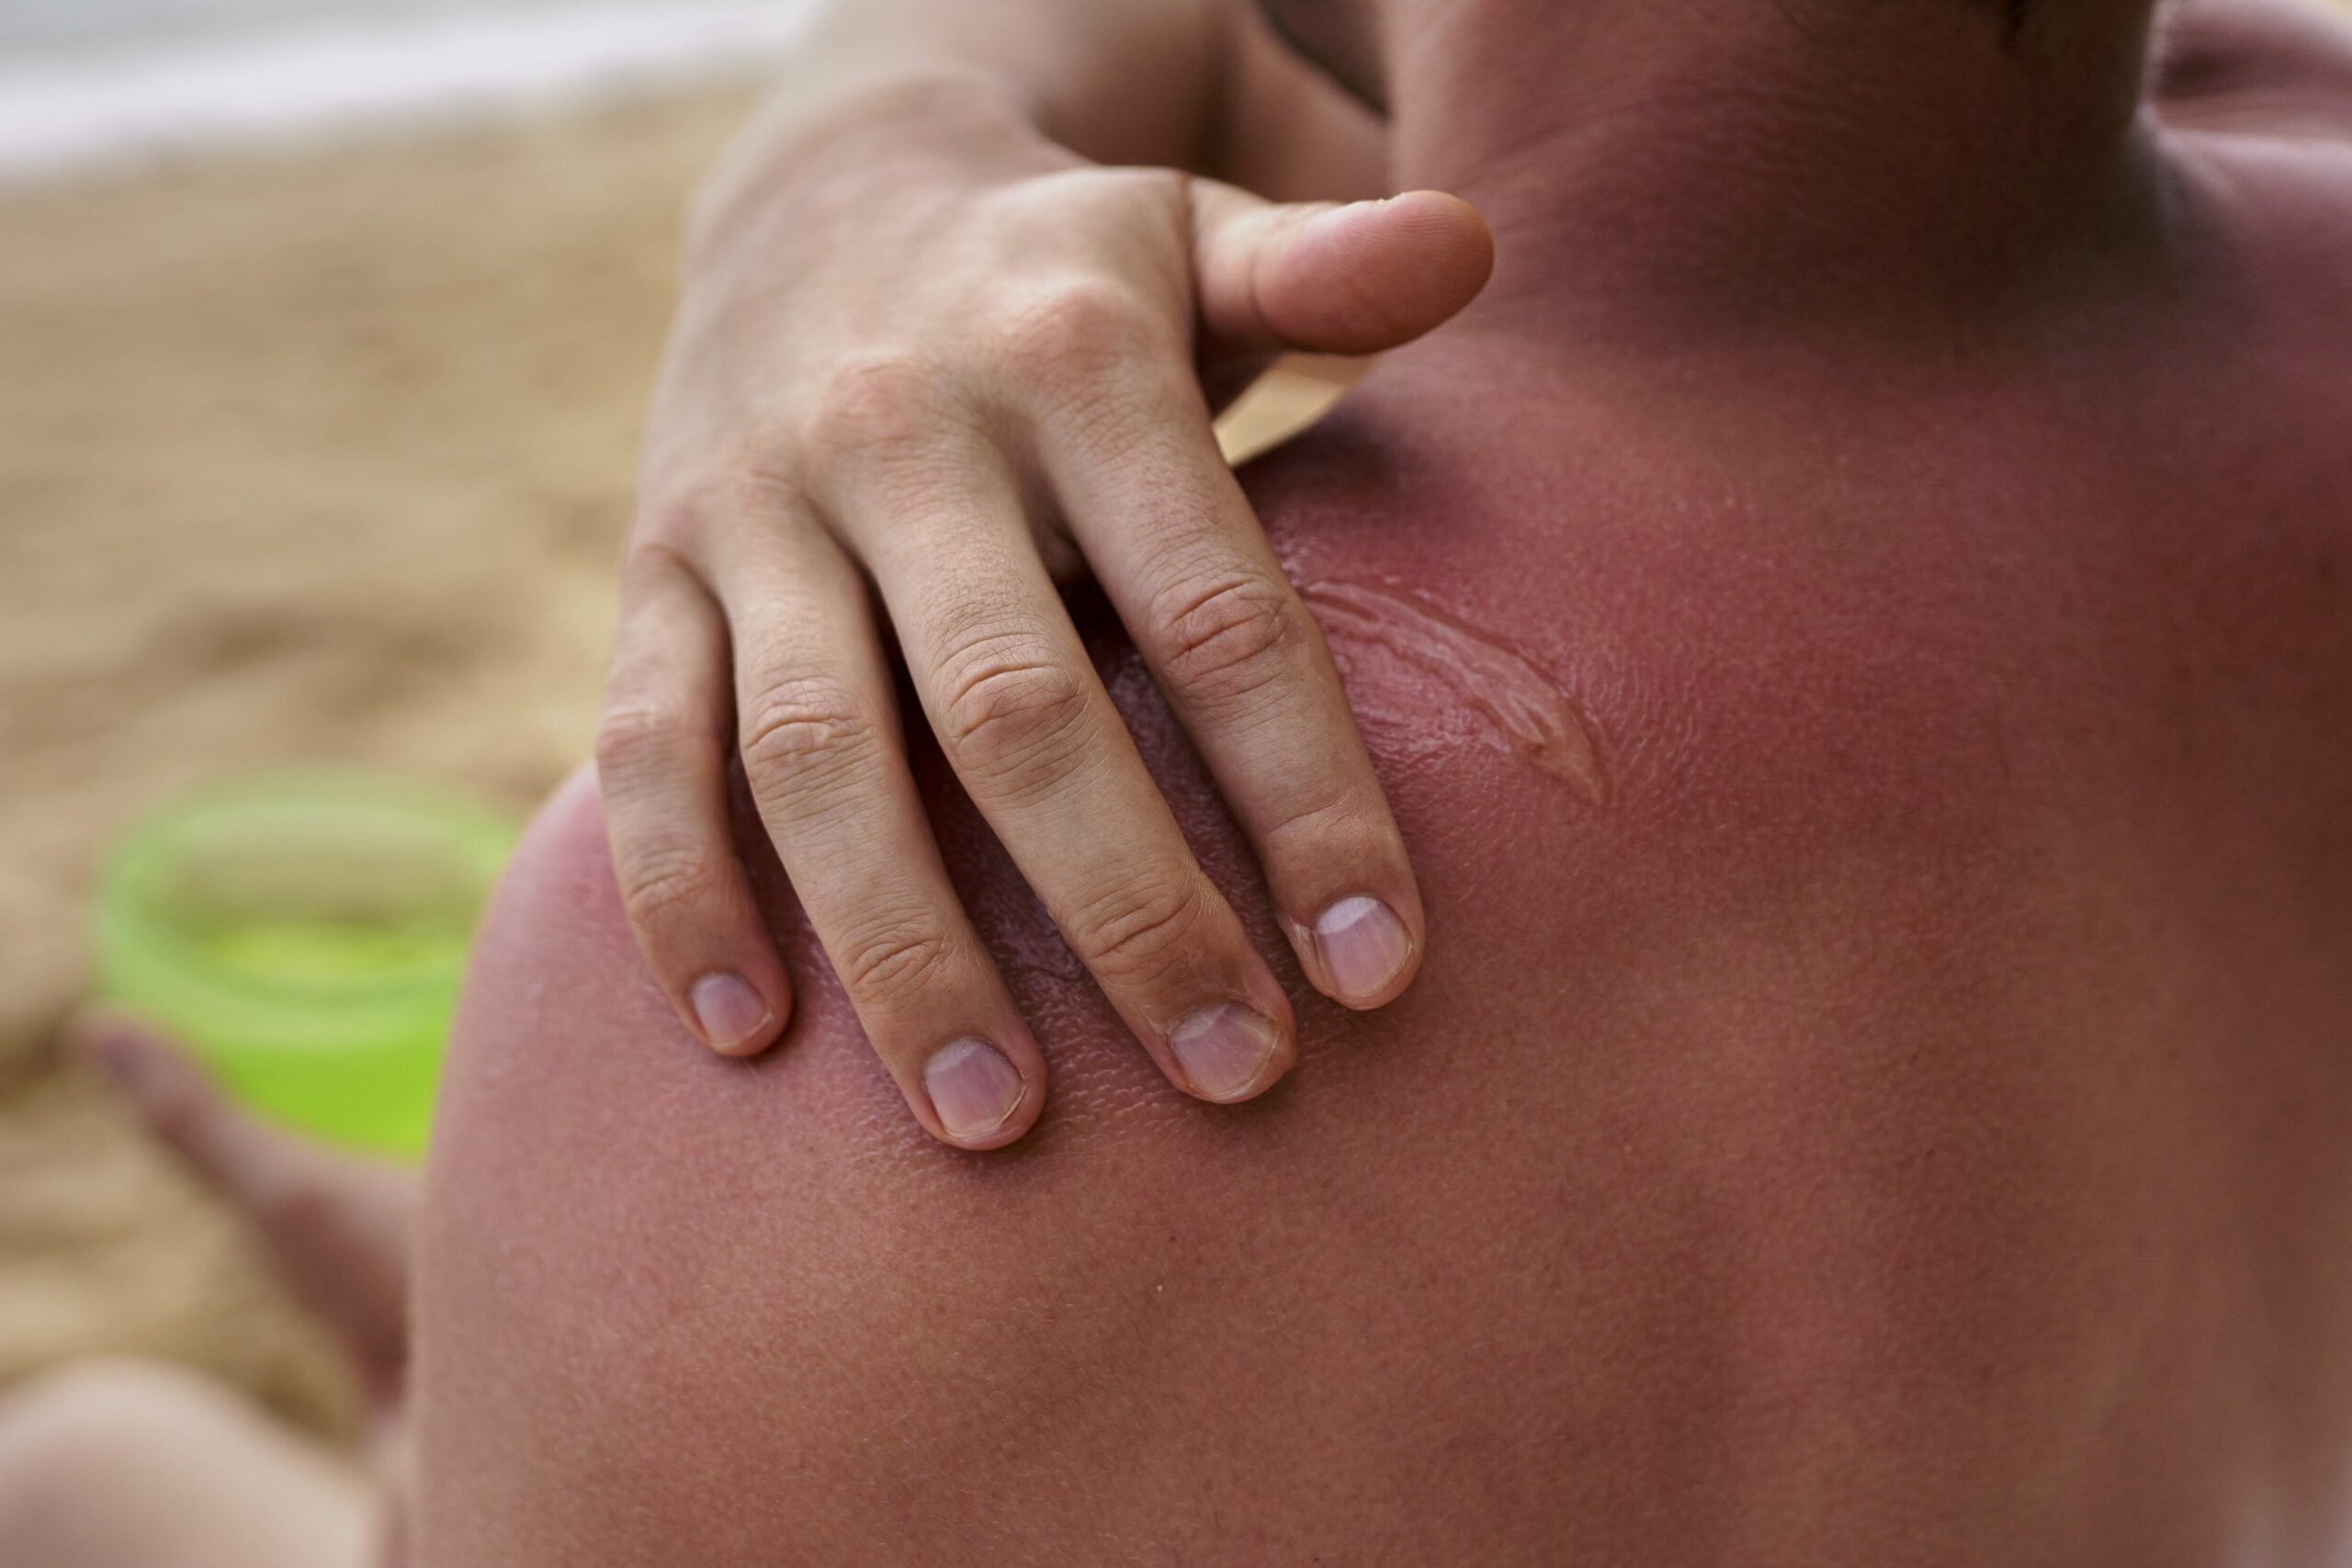
- Cool afterwards: Apply a cold pack if you experience redness.
- Combine with exercises: Stretch or foam‑roll immediately post‑therapy.
- Keep a journal: Note distance, time, and how you feel to fine‑tune your protocol.
Takeaway: How to nail your red light therapy routine
By following the “5–15 minutes at 10–30 cm, 2–3× weekly” formula, you’ll maximize cell repair, pain relief, and skin health.
Expert Reminder: Choose a home device that offers both 660 nm and 850 nm LEDs, with adjustable power density and a timer for precise, repeatable sessions.
HERE is our range of effective red light therapy panels for home use.
Sources: